Wednesday, March 21, 2012

Flan de Grace


Flan…there are a million recipes, and most of them are delicious!  Today we have Grace’s Flan which has been deemed by her family as the best flan ever. Having had enjoyed it more than once, I can tell you, it’s really good!

You may remember Grace’s Carne con Papas (Cuban Beef Stew) – can you believe that was back in November 2008? We can’t wait that long for Grace’s recipes…

We spent Sunday afternoon at her house, and while the flan cooked we enjoyed her delicious chicken salad and some “saladitos”, and as always wonderful conversation.

OK, let’s get down to business…

Ingredients


5 eggs
14 oz sweetened condensed milk
12 oz evaporated milk
1 Tblsp vanilla extract
¾ cup sugar


Process

This recipe makes approximately 10 servings.
  1.  Add ½ cup of sugar to cover the bottom of a loaf pan.  
  2. Add 6 Tblsps of water to the sugar.


  1. Place the loaf pan on the stove on high.  Caramelize the sugar for about 14 minutes until the mixture gets thick and brown.


  1. Once the caramelized sugar is done, take it off the stove and swirl the pan until the bottom is coated.


  1. Let the pan sit until the mixture has hardened.
  1. Place the evaporated milk, eggs, vanilla, condensed milk and ¼ cup of sugar in a bowl.  
  1. Mix for about 2 minutes until the egg is fully mixed. The mixture will be lightly thickened, but still drippy. 

  1. Pour the egg mixture into the caramelized loaf pan.  You may hear crackling when the cold milk mixture hits the still warm caramel. Relax, it’s ok! That’s normal.

  1. Place the pan into a room temperature water bath in a cold oven. Set the oven to 350 degrees for 55 minutes.
  •  NOTE: DO NOT open the oven while cooking, as this will inhibit the flan from gelling (“se pasma” in Cuban Spanish). 
  1.  After around 55 minutes, insert a toothpick into the center of the flan. It should come out semi-dry and the consistency should be firm but not  dry.

  1.  Let the flan sit for at least an hour until it cools completely, then cover and refrigerate for at least 8 hours.
  • NOTE: This is a great make-ahead dessert. It can be made up to 3 days in advance and stored in the refrigerator.

  1. When ready to serve, run a knife around the edge until the flan is unattached from the sides.
 

  1. Flip the flan on to a serving platter.
  1. Pour the caramelized sugar syrup over the flan. Slice and serve.

Look! How beautiful is that?


Of course, a sweet, strong "cafecito" (Cuban coffee) follows the flan perfectly. 

Make this for your next dinner party - it'll be a hit!

¡Buen provecho!

Sunday, August 7, 2011

Ropa Vieja de María


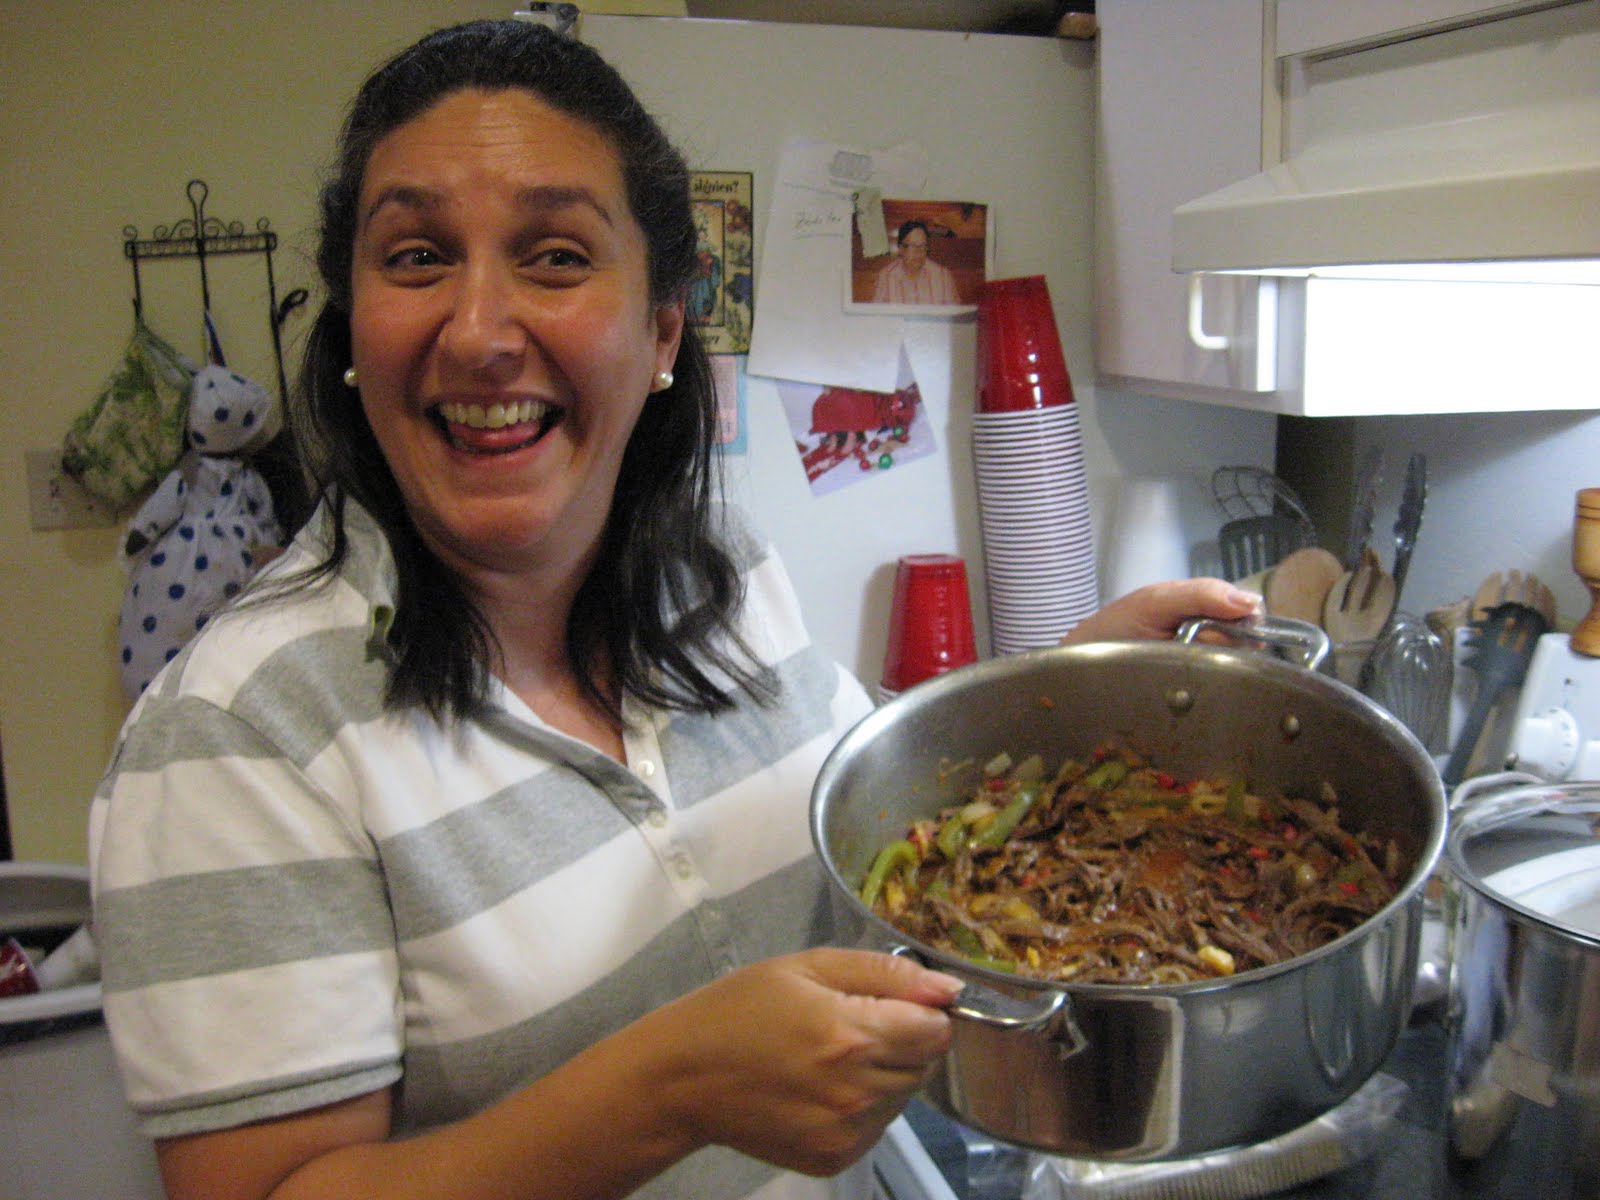
María is our dear friend Patty’s cousin and considered one of their very large family’s best cooks. Not only is she a good cook, but you can tell she enjoys it and enjoys sharing with others. Last weekend she shared her recipe for the most often requested recipe on this Blog – Ropa Vieja. You asked for it and we got it for you!

The best part is that María has many other "specialties", so plan to see her on this Blog again!

“Ropa Vieja” literally translates to old clothes because the meat is shredded – trust me, it’s way more appetizing and the smells while this cooks will make your mouth water. Let’s do this!

The Ingredients


For the Broth

About 4 quarts of water
2 ½ lbs of Flank Steak
* Note – If you have access to a Latin market, María recommends that you replace the flank steak with an Argentinean cut called “Vacio”
1 medium onion – whole and peeled
1 head of garlic – whole and unpeeled
2 stalks of celery – whole
2 carrots – whole
1 tsp. Onion Powder
1 tsp. Garlic Powder
1 tsp. Salt
Black Pepper to taste

For the Meat

Salt to taste
Black Pepper to taste
1 tsp. Garlic Powder
1 tsp. Onion Powder
1/8 cup Olive Oil
1/8 cup Canola Oil
4 Garlic Cloves peeled and lightly mashed
2 Bay Leaves
1 Medium Green Pepper – cut in strips
1 Medium Onion – sliced
½ cup Dry White Wine
8 oz. Tomato Sauce
½ tsp Worcestershire Sauce
4 oz. Diced Pimientos – drained

The Process

This recipe makes about six servings
  • Add all the broth ingredients to water, set to High and bring to a boil.

  • Once it begins to boil skim the broth, cover and set to Simmer for about an hour until the meat is tender and shreds easily.

  • Take the meat out of the broth and let it cool for about a half hour until it can be handled. Discard the vegetables and set the broth aside.

  • NOTE: The beef broth can be frozen and stored for use in sauces, soups, etc.

  • Shred the meat into strands. Season with salt, pepper, onion powder and garlic powder to taste.

  • Using the same pot as the broth, set the temperature to Medium and add the oils, garlic cloves, bay leaves, peppers and onions. Sweat the mixture until the onions are translucent.

  • Add the meat and mix with the vegetables while coating it in the oils.

  • Add the wine, listening for a sizzle. Stir for about five minutes to avoid sticking.

  • Add the pimientos and the tomato and Worcestershire sauces. Mix well.

  • Cover and simmer for about 10-15 minutes and you're done!

  • NOTE: If you want the sauce to be more “liquidy”, add one or two ladles of broth and stir well, heating for another few minutes.
Ropa Vieja is traditionally served with white rice and green or ripe fried plantains.
María served the ropa vieja with white rice and perfect “tostones” (fried green plantains), followed by the mandatory “cafecito”. We had a fabulous afternoon drinking wine, cooking, eating (of course) and sharing all kinds of stories – not bad for a rainy day!
¡Buen provecho!


Friday, March 18, 2011

Empanadas Argentinas de Begoña (Argentinian Turnovers)


This is a very special installation of "Cuban Home Cooking" - today we learned how to make a popular and delicious treat from Argentina that has become a staple in Cuban bakeries and restaurants - often eaten for breakfast, lunch or as a "merienda" or snack.

Our "teacher" was Begoña Cabili, a friend's mother-in-law, born in the Basque region of Spain who emigrated to Argentina with her brother and sister when she was 18 years old. There the Basque beauty met and married Roberto, a dashing Argentine of Turkish descent and she learned to make Argentinian dishes. For the last 40+ years they've lived in Miami with their children and grandchildren. And that's how she came to be our friend and teacher!

We made - and ate! - beef empanadas and chicken empanadas. The procedure is the same, but in the pictures you'll see the beef preparation. Let's do it!

The Ingredients


1 lb lean ground beef (or chicken) - well separated
6 oz roasted sweet peppers - minced
15 plain olives - chopped
1/2 large white onion - finely chopped
2 hard boiled eggs - chopped
1¼ ounces raisins (optional)
4 Tblsp extra virgin olive oil
Paprika to taste
Salt to taste
20 sheets of flaky filo turnover dough for oven


Note - Begoña uses the brand "La Salteña" which she buys at a local Argentinian deli. Any phyllo dough pastry should work - but if possible try to get it for "the oven" or baking, rather than for frying.

Note - The dough comes frozen and can be stored in the freezer up to 6 months before use. Before using thaw in the refrigerator for 24 hours.

Note - Keep the dough refrigerated until use and even while working keep the dough sheets as cool as possible.


The Process
This recipe makes 20 empanadas

  1. Preheat oven to 350º.

  2. In a skillet sweat onions in 4 Tblsp of oil on low temperature until they are tender.


  3. Add the meat to the onions. Then add salt to taste and add paprika to the desired color.

  4. Drain, rinse and dry the roasted sweet peppers, and then mince them.

  5. Chop the eggs and the olives.

  6. Add raisins, olives, peppers and eggs to the meat and mix well.

  7. Sample a bit and add salt to taste.

  8. Set the mixture aside to cool.

  9. Cover baking sheets with tin foil and lightly grease with melted butter. Take the dough out of the refrigerator but keep cool and covered as you work with each one.

  10. Place one dough disc on a hard surface - marble is ideal as it keeps the dough cool. Rim the edge with enough water to make it moist - this will help seal it.


  11. Place one tablespoon of the meat mixture in the disc and fold the dough over it.

  12. Crimp the edges starting at one end and working around.

Note - If you're making different types of empanadas (meat and chicken for example) crimp the edges differently to distiguish them from each other. You can use a fork for one type, shell shape for another, etc.)
  1. Brush each turnover with egg yolk to add color to the pastry.

  2. Place in the oven for approximately 25 minutes.

  3. Check periodically to ensure they are browning but not burning.
Note - The empanadas can be made and frozen unbaked for up to 6 weeks. Thaw them before baking.

We enjoyed the empanadas with some wine and good conversation and Begoña made delicious baked apples for dessert. And yay! there were enough for all of us to take some empanadas home!


¡Buen provecho!

Saturday, August 14, 2010

Dulce de Guayaba de Elsa


First I want to apologize for the long absence. Real life got in the way and well…that’s it really. So, I’ve had a couple of recipes since late 2009 waiting to be published - I know, shameful! Mea culpa, mea culpa, mea maxima culpa (thump, thump thump).

But, we’re back with a treat - and right in time for guava season in South Florida! Elsa came to our friend Silvana’s house to teach us how to make something close to a guava jam or compote. The smells coming from that kitchen were heavenly…

Ingredients
35-37 Medium ripe or green Guavas
(NOTE: Guava will stain, so be careful of clothes and counter tops.)
6 1/2 cups Sugar
Pinch of Salt
Water as needed


Process:
This recipe makes approximately eight 12 oz. jars.
  1. Wash guavas and cut off the stem end.

  2. Cut the guavas in half and scoop out the seed and centers and reserve.

  3. Chunk the remaining guava pulp and skins.
  4. Puree the chunked pulp and skins adding small amounts of water as needed to liquefy.

  5. Strain the fruit puree discarding solid remnants using a fine mesh strainer.

  6. Strain the seed puree but retain the remnants.


  • NOTE: To strain the seed puree she used the back of a spoon to work all of the puree off of the seeds.

  1. Restrain the seed puree. After the second puree there should be no seeds left.
  2. Combine the fruit puree and the seed puree to yield approximately 9 cups.

  3. Add the sugar to the combined puree.

  4. Cook the combined puree on high until it comes to a full boil. Stir with ladle to mix the sugar well and to prevent the marmalade from sticking to the pot.
  5. Once it comes to a second boil lower the temperature to medium. Continue cooking as it continues to boil.
  6. Add a pinch of salt.

  7. Cook for 30 minutes stirring periodically.

  8. Use this time to prepare your jars.
  • NOTE: It is best to use sterilized glass jars as the marmalade will initially be hot.

  1. After 30 minutes, set the temperature to low and beginning jarring. Jar and lid all of the marmalade while hot.

  2. If using canning jars they will "pop" as the mixture cools, thereby completing the seal.


  • NOTE: Once cool, the marmalade can be refrigerated for a couple of weeks.

Serve with yellow cheese and crackers for a traditional Cuban snack or dessert. It is also delicious served over cream cheese, or even a plain cheesecake. Or heck, eaten out of the jar with a spoon!

Buen provecho!